
randys blog

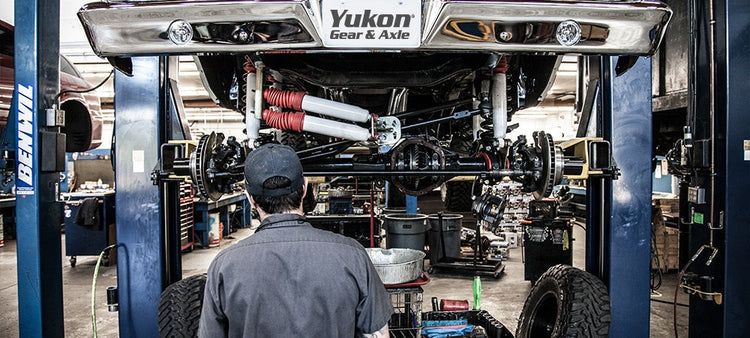
Differential Install: Small Details Make a Big Difference (Part 2)
When working on any rearend, always pay very close attention to the axle shafts and axle bearings. Sealed ball bearing type axle bearings are usually very easy to diagnose and any roughness makes replacement the obvious choice. Flat roller bearing style axles are not as obvious to diagnose, and many times people dismiss wear that soon after leads to larger problems. Any pits, rust, grooves, or odd wear on the bearing surface of the axle shaft will lead to more wear. Just the same as pot-holes in the road always get larger with traffic, axle shaft wear always gets worse. Large tires and towing heavy loads accelerates axle wear and makes inspection and replacement extremely important. Axle splines are another area that can easily be overlooked. The axle splines in most differential designs hold up well and seldom wear. There are a few designs, however, that tend to wear out the splines quickly. Nine-inch Ford rearends are notorious for wearing out the axle spline wear, especially when they use a Trac-Loc. The Track-Loc uses a two-piece side gear and clutch hub on the left side, which tend to spread the load to the splines less evenly and accelerate wear. Swapping the axles from left to right can sometimes work as a fix if the wear is not to extreme, but we usually recommend installing a new axle shaft. Bent axle housings are another problem seldom noticed and rarely fixed. A bent housing causes the axle splines to be worked harder than normal due to the angular contact with the side gear and the sliding action that happens to the splines each time the axle rotates. Bent housings can sometimes be spotted by sighting down the axle tubes after the axles and carrier case have been removed. This takes some practice, but once the technique is mastered it is easy to determine if the housing is bent. Even though it may not be the best way to straighten a housing, an axle truss is definitely a good idea for any situation where the vehicle is being overloaded or abused, and it will help keep the housing straight. Although we have seen people use an axle truss to pull the housing straight, we recommend removing the housing from your vehicle and taking it to a competent welder or machine shop. Carrier bearing adjusters are another detail that will affect the life of the differential if the worn parts are not noticed and fixed or replaced. Often the carrier bearings will spin in the housing and wear a groove into the adjuster. If the wear is not too extreme, the adjuster can be saved by filing the contact surface flat again. Just make sure that the surface is filed flat and square, and not at an angle. Clutch plates and clutch plate guides are also important to differential life. Clutch guides are the small, half round, hard metal plates that keep the clutches from eating into the carrier case on many limited slip designs. These guides can wear to the point of breaking, and once they are broken they can get between the ring and pinion gears and wreak havoc. Popular Resources: New Gear Break-In Properly Setting Preload with Side Adjusters Size Matters
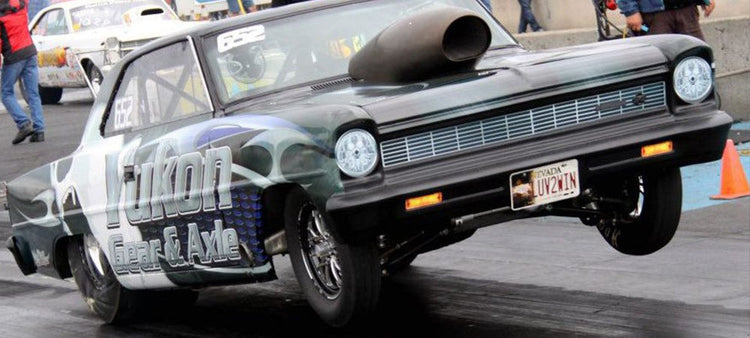
Things To Consider In Circle Track & Road Racing
COST The main thing to consider when building a rearend for any type of racing is strength and durability. After spending tens of thousands of dollars on the engine and transmission, why skimp on cheap rearend parts? OIL COOLERS Any rearend that transfers a lot of power will get hot. The only way to make the rearend live is to keep the oil from deteriorating and keeping it cool. The best way to keep the oil cool is to pump it through a cooler system that has adequate oil flow and air flow. This requires a pump, a system to turn the pump, oil lines, extra oil volume (and often an external sump), a good radiator, and ducting or placement for adequate air flow through the radiator. The difference in bearing and gear life with or without a good cooler system is amazing. SYNTHETIC OIL Some people do not like using synthetic oils. We have found that differentials without an oil cooler last far longer and have a much smaller chance of burning up the gear-set when synthetic oil is used. Crude oil is a lot cheaper, and works well if it does not get too hot, but synthetics work a lot better for rearends without a cooler. SAFETY WIRED BOLTS Safety wired bolts are not easy to work with. They take longer to assemble and the bolts are expensive to buy or drill. However, having a bolt back out costs a lot of time and money, especially if it costs points or a win. Ring gear bolts are the most important for safety wiring, but some insist on wiring the main cap bolts and pinion support bolts as well. LOCTITE Use red Loctite on all ring gear bolts, all pinion nuts, main cap bolts on severe duty use, and on pinion support bolts on severe duty use. Always clean the bolt and hole threads with a non-oily cleaner (brake-clean spray works well) before applying the Loctite. Put a drop or two on the end and it will work its way up the threads as the bolt is inserted. PINION BEARING PRELOAD SPACERS A crush sleeve works great for most street cars and production vehicles, but a race rearend should always use a solid spacer and shims. A spacer machined from billet steel is far superior to one cut from tubing. The best 9″ Ford spacers use two pieces cut from billet that enclose the shims completely and keep the bearings from wearing down the fragile shims. The pinion yoke should not be re-installed after removal when a crush sleeve is used. When using a solid spacer, the pinion yoke can be removed and installed over and over without affecting the bearing preload. HIGH QUALITY TIMKEN BEARINGS There are a few manufacturers other than Timken who make good bearings, but Timken has always been the most consistent and has always been the standard that others are judged by. It is also cheap insurance to install new bearings any time the old bearings show wear or heat damage. USE THE RIGHT TOOLS Tools set man apart from the rest of the animal kingdom. Using the right tools not only makes the job easier, it also ensures the rearend is assembled correctly and completely. A good, solid tool for turning the side adjusters is absolutely necessary. It takes about 150 ft lbs of torque to tighten a 9-inch Ford adjuster correctly. Any less will allow the ring gear to flex away from the pinion and the gear-set will not live as long. An accurate and easy-to-read dial indicator is necessary for properly measuring the backlash. An accurate inch/lbs torque wrench is needed to set the pinion bearing preload correctly. VITON HIGH TEMP PINION SEAL These pinion seals are best for racing. They are made from Viton® Fluoroelastomer, well known for its excellent (400°F/200°C) heat resistance. Their exceptional mechanical stability makes them ideal for severe operating conditions. MAINTENANCE OF A RACE REAREND The main thing a race rearend needs to live is good lubrication. Hot, dirty oil will end the life of a rearend faster than just about anything else. Cleanliness when assembling the rearend is essential to long life. Dirt, dust, metal filings, and any number of other foreign debris will affect the rearend life. A good rearend mechanic keeps their bench and work area free of any dirt or contaminants that can affect the rearend. This may seem obvious, but I see the issue of cleanliness missed more often than not. Bearings are more important to gear life than most mechanics realize. When it comes to the time and money to replace bearings, most people would choose not to go through the trouble. There are many things that can damage a bearing and lead to failure, even if the bearing doesn’t LOOK bad. Heat is probably the biggest killer of bearings in a racecar rearend. Scratches during assembly can lead to premature failure. Pinion bearing preload is VERY critical and either too much or too little can lead to bearing and/or gear failure. Whenever the pinion support is removed or the rearend is disassembled, the pinion bearing preload should be measured (with an accurate inch pounds wrench) and adjusted. Popular Resources: Limited Slips: Gov-Lock vs. Yukon Dura Grip Identifying Borg Warner Transfer Cases Limited Slips vs. Differential Lockers vs. Spools
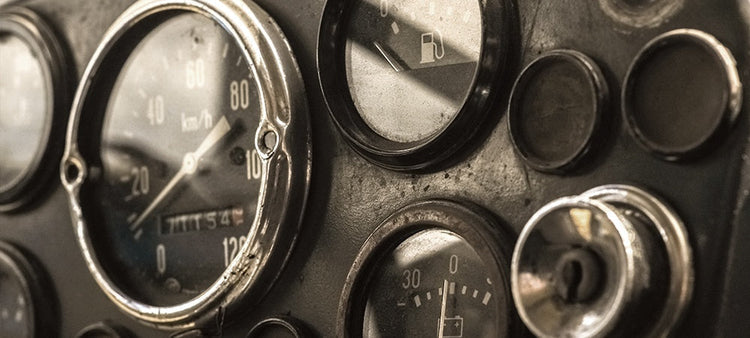
Calibrating Speedometers
Changing gear ratio or tire size can lead to an out-of-calibration speedometer that leaves you guessing how fast you are really going. Calibrating a speedometer is usually not as hard as people make it out to be. In many cases all you need is an accurate standard of speed or distance, the right equations, and some basic math.There are actually two ways to calibrate a mechanical speedometer. The ratio of the drive and driven gears in the transmission (or transfer case) can be changed, or you can install a reduction or overdrive calibration box between the cable and the driven gear. The simplest method is possible when only the speedometer driven gear needs to be changed. In some cases, the driven gear is not available small enough or large enough to complete the calibration, and the drive gear on the transmission output shaft must be changed. This is not easy due to the fact that the tailshaft of the transmission (or transfer case) must be removed to access the drive gear. An alternative is to install a custom made “calibration box” between the cable and the driven gear. This is a simple bolt-in procedure and the parts can be found at your local speedometer shop or by mail order. If the vehicle has an electronic speedometer, calibration is not so easy. Ford trucks with an LED odometer use the differential ABS ring to signal the speedo. Changing the gear ratio in these trucks does not require re-calibration. However, changing the tire size does require re-calibration by a professional. General Motors trucks with an electronic signaled dash must be calibrated by changing a chip in the dash. This can be done with parts from GM, but once again I would recommend calling a professional or making a trip to your local speedometer shop.